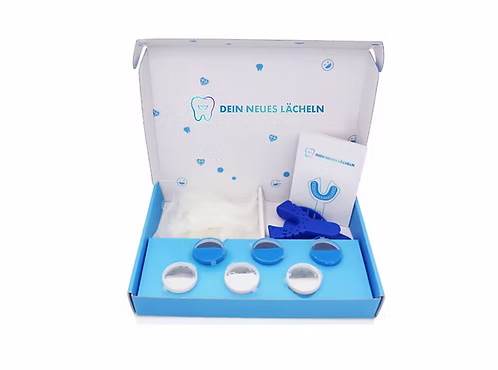
How do I take an impression?
In 9 simple steps to the perfect result. You can do it!
No Worry Guarantee:
You don't have to be an expert
It is explained very simply.
Only a few minutes
Faster than brushing your teeth.
Free Replacement
If it goes wrong, we send a new kit.
Pro Check
We check everything before production.
Start
Open your free impression kit. Get a towel ready and make sure you have a mirror nearby.
Preparation
Take the impression trays and the impression material (Putty) out of the kit. Briefly check which tray fits best in your mouth (dry run).
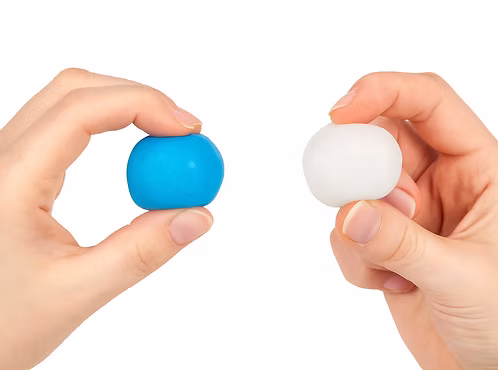
Mixing
Take the two components (base and catalyst) out of the cups. Knead them quickly with your fingertips until they mix.

Even Color
Knead until (approx. 30-45 seconds) the mass has a uniform color and no streaks are visible. Work quickly!
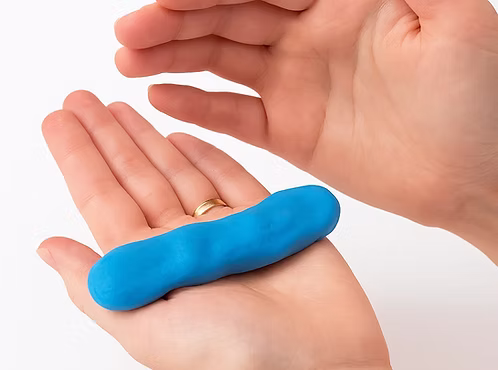
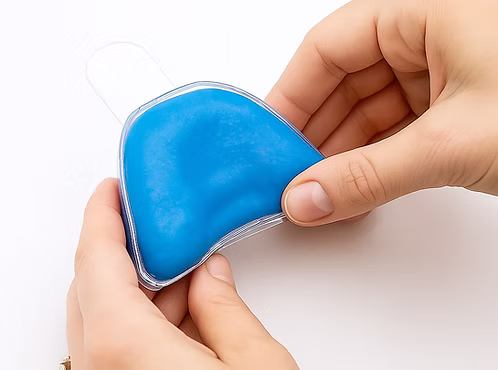
Placement
Form a roll and place it in the impression tray. Press the material slightly so that the tray is evenly filled everywhere.
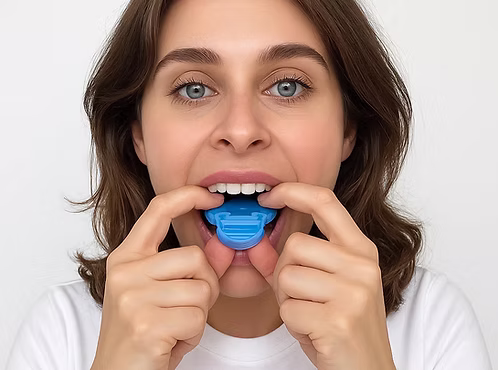
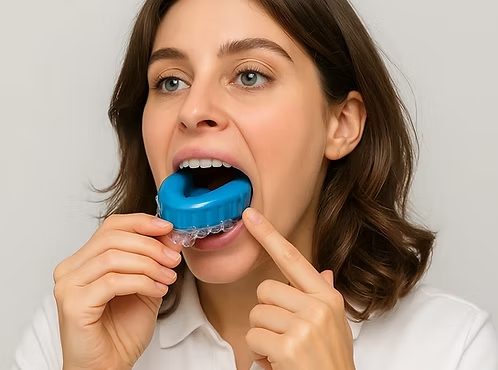
Creation
Open your mouth wide. Guide the tray over the row of teeth. Press it once firmly and evenly upwards (or downwards) until the teeth sink into the material.
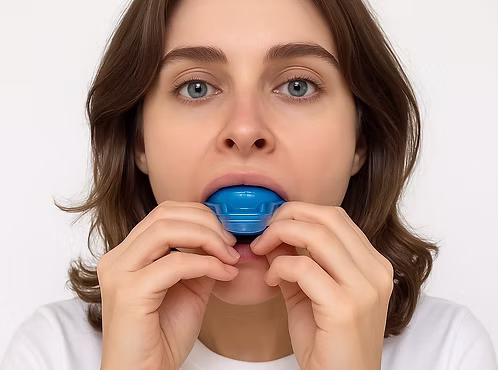
Wait
Important: Hold the tray absolutely still! Do not wiggle. Wait exactly 2 minutes and 30 seconds until the material becomes firm.
Remove
Check with your fingernail at the edge if it is firm. Then slowly and carefully pull the tray vertically downwards (or upwards) off.

Done!
Rinse the impression briefly with water. Done! If you are taking impressions for both jaws, repeat the process now for the other side.

Repeat
Repeat the process (steps 1 to 9) for the lower jaw.